Like most sports titles over the last several years, the in-game slider settings have become an increasingly crucial and useful in-game tool for people. Now, the sight of all these sliders and options at your disposal can be overwhelming for many, but the perfect slider settings — depending on what you’re looking for — can help to create the most realistic or unrealistic gameplay experience possible. For the last few years, EA Sports has included the ability to customize skill levels, how frequently penalties are called and even how fast the game plays. I will include these factors in my NHL 21 realistic sliders and settings.
In this article, I will breakdown and explain the settings I use to recreate as realistic NHL hockey as possible. This article will also span multiple parts, so just a heads up that we won’t get to the gameplay sliders until part two.
Now, by no means am I beginning to say that these settings will fix all of the glaring AI legacy issues that exist in the NHL series. Yes, you will still continue to become frustrated with the gameplay in NHL 21 at times. However, I believe that focusing in on these settings does mitigate some of the painfully brutal AI legacy issues, allowing for more enjoyable and authentic gameplay.


Operation Sports App
Your ultimate companion for sports gaming. Access in-depth coverage, thoughtful discussion, and a community built around the games—and sports—you love.
Your ultimate sports gaming companion.
Important Settings I Adjust Right Away
- Difficulty: Superstar
- Period Length: 6 Minutes
For me, six minute periods result in the most realistic stats when it comes to: shots and hits per game.
- Attribute Effects: 10/10
Having the attribute effect set to the max attempts to create player separation. (Full disclosure: it isn’t super effective but it is better than not playing on the max.)
- Game Speed: 0/6
Slowing the game speed down helps to eliminate the constant back and forth, up-and-down gameplay that comes on default settings. At times, it still will play arcade style but you can’t get any lower than 0.
- Skating Speed: 30
This goes hand and hand with game speed. Adjusting skating speed will also play a role in reducing the up-and-down gameplay.
- Skating Agility: 90
Hockey players, perhaps the most agile of athletes, stop and turn on dimes so increasing the agility focuses in on that.
- Player Acceleration: 30
Much like skating speed the lower the acceleration the less of the run and game you will get.
My Goal: I like to play an uptempo forechecking style based on speed and skill, so a lot of my choices with the settings will reflect that desire. To be clear though, I hate the general fast paced, up-and-down arcade style of gameplay that the NHL series has become known for over the years. The settings above help in slowing down the overall game speed but still allow my team to properly aggressively forecheck.
NHL 21 Realistic Sliders And Settings (Part One)
Individual Line Strategies
Touching on your team’s individual line options for a moment, I feel like these settings might be the most important to pay attention to. Having said that, for whatever reason, I also feel like these might be the most forgotten settings somehow. In NHL 21, adjusting certain settings does not necessarily produce visible change. However, adjusting your individual lines settings does 100 percent provide a noticeable difference in gameplay. My strong recommendation is to scale these settings up or down depending on the gameplay style you want to play in NHL 21.
Offense
- Carry/Dump
Most teams’ top two lines are made up of “skill guys” who tend to, nine out of 10 times, carry the puck into the offensive zone. Therefore, I adjust my settings accordingly (1-10). For lines three and four, I slide the scale to the right (9-10) as I want my bottom two lines to aggressively forecheck and play physical.
- Cycle/Shoot – 8/10, 3/10
Similar goal as above, I want my first two lines to generate as much offense as possible so shooting is the main focus (8-10). My bottom two lines I want them to create zone time and wear out the opposition’s defense (3-10).
- Efficiency/Energy – 4/10, 7/10, 10/10
Again, the goal is similar here too. I want my first two lines to be efficient as they typically get a little longer of a shift (4-10). For line three I go a bit more aggressive (7-10). For line four, my energy line, I go full out. Get in there and create havoc (10-10).
- Don’t Block/Block – 2/10, 8/10
I don’t necessarily want my top two lines sacrificing their body to block shots in the defensive zone (2-10). My bottom two lines tend to be my penalty killers as well, and I want them throwing their body in front of shots left and right (8-10).
Defense
Defensive settings are a bit more complicated and less straight forward so I tend to fall in the middle with most of my setting choices.
- Hold Line/Pinch – 6/10, 5/10, 5/10
Your first defensive pairing typically will consist of at least one offensive defenseman so pinching to create offense makes sense. However, your offensive defenseman is often paired with a defensive defenseman making having him pinch not necessarily a positive. In short, I have my first pairing set to 6/10 and my other two pairings set at 5/10.
- Cycle/Shoot – 7/10,5/10
My first and second pairings both get 7/10 while my third pairing plays at a 5/10.
The scale for all settings is 0-10. The lower the setting the more it will play out the action on the left. The higher the setting the more your team will replicate the action on the right.
Line Strategies
Now, to talk about individual line strategies, these settings have not changed in, well, forever. The three basic set ups below are pretty traditional.
- Behind The Net – I usually set this strategy for my fourth line.
Players will set up behind the net to try and establish a cycle and exploit the goalie’s blind spots. The defensemen will also look to sneak into the play to receive a quick pass from behind the net.
- Crash The Net – I usually set this strategy for my third line.
Two players converge onto the net to try and gain positioning to create a screen, deflect shots or knock in rebounds.
- Overload – I usually set this strategy for my first and second lines.
Best suited for skilled players, skaters look to take advantage of open space and create a cycle with most plays starting low and ending up high with shots from the defensemen.
Offensive Pressure
These options will have an impact on all five players (forwards and defensemen) on the ice and will determine how aggressive or passive you want your players to be while in the offensive zone. You will be able to choose from five different options.
- Aggressive – I find myself playing mostly on this setting. It feels like this setting allows for a normal NHL-style forecheck and the most realistic gameplay possible.
This option is the second highest aggressive setting you can choose from. Your defensemen will look to jump into the offense more frequently but will still keep their defensive duties in mind.
- Conservative
This option is the second-most passive setting you can choose from. Your defensemen will sit back just in case the opposition retrieves the puck and starts an attack, but they will still occasionally jump into the play to generate offense.
- Defend Lead – When the third period rolls around and I am protecting a lead I almost always switch to this setting.
This option is the most passive setting you can choose from. Your defensemen will sit back, often on or just behind the offensive blue line, to make sure the opposition doesn’t get a breakaway and or have a clear shot on your goal.
- Full Attack – When my team is trailing and we need to get some offense going, particularly late in the third period, I will deploy this attack.
This option is the most aggressive setting you can select. Your defensemen will focus on generating offensive opportunities and making plays with the sole focus of getting your team on the score sheet.
- Standard
This option I think is the most common setting. Your team will have a balance between aggressive and conservative offensive pressure.
Forecheck
These settings below apply when your opponent possesses the puck in their defensive zone or in the neutral zone. The purpose of “forechecking” is to put pressure on the puck carrier, close down passing lanes and force the opposition to make a turnover you can capitalize on.
- 1-2-2 Aggressive
The first forward will go deep into the zone to pressure the puck carrier. The other two forwards will support but stay higher up cutting off the ability to head man the puck, while the two defensemen will hold the blue line. The best way to beat this strategy is to skate into pressure then dish the puck to a teammate.
- 1-2-2 Passive
This is similar to the aggressive option, but here all players set up higher starting at the circles in the offensive zone. The best way to beat this strategy is also by skating into traffic then dishing the puck to a teammate, but this forecheck also allows for shorter passing as well. The passive 1-2-2 is ideal for defending leads.
- 2-3 – The 2-3 forecheck is my go to. It feels like this setting allows for a normal NHL-style forecheck and the most realistic gameplay possible.
Defensemen line up on the halfway line while two forwards aggressively pursue the puck carrier and attempt to cut off passes. The third forward — or high guy — sits higher up closer to the blue line to help prevent transitions or breakouts by the opposition.
- Weak Side Lock – Forwards will sit quite deep in the offensive zone. The defensemen will hold the blue line, while one forward will apply pressure to the puck carrier and the other forwards will sit higher up preventing transitions and breakout passes.
Neutral Zone
Neutral zone strategies will determine how your team sets up when your opponent pushes towards and through the middle of the ice while in possession.
- 1-2-2 Blue
One forward pressures the puck carrier while the other two forwards set up just inside the offensive blue line. The two defensemen set up on the red line.
- 1-2-2 Red
One forward pressures the puck, two forwards sit on the red line, and the two defensemen sit on your blue line.
- 1-3-1 – I like using this setting
One forward pressures the puck carrier while three skaters set up in a horizontal line across the neutral zone to close off all three lanes. The fifth skater/last defenseman sits behind the line of three to defend the net when a skater breaks through or to retrieve the puck in a dump and chase scenario.
- 1-4
One forward pressures the puck carrier while the other four set up in a horizontal blockade — i.e. picket fence — shutting off even more of the lanes to their defensive zone or to retrieve the puck in a dump and chase.
Defensive Pressure
Defensive strategies will determine how your players set up when without the puck in the defensive zone. Defensive strategies are crucial to team success, allowing players to be positioned where you want them to best limit scoring chances.
- Contain Puck
Your players setup in front of the net but are active closing down on the puck while looking to block shots.
- Normal – I prefer to play on this setting, resulting in a good mix of man to man and zone coverage.
Players will move towards the opposition players they are covering while others will stay close to the net to block shots.
- High Pressure
Your players will chase down the player in possession of the puck, trying aggressively to win control of the puck.
- Protect Net
Almost all of your players set up in front of your goaltender to block incoming shots and clear away rebounds.
- Puck Side Attack
Players who are on the same side as the puck will put pressure on the puck carrier, while others will wait for the puck to move closer to their position and will then put pressure on the puck carrier.
Defensive Coverage
- Collapsing
Four players will hover around your goaltender to stop passes from going across the front of the net, block shots and to clear away rebounds. The other skater will pressure the puck carrier.
- Staggered – I prefer this setting. Staggered coverage also pairs well with normal pressure
Players maintain both high and low coverage with the strong side pursuing the puck and the weak side collapsing closer to the net.
- Tight Point
Players will stay tight to a designated player almost like a man on man. This strategy limits passing options but can leave you vulnerable to your individual player getting skated by with little support behind him.
Penalty Kill
While already being down a man, you’ll want to make sure your setup is most effective against the power play setup you are going up against.
- Diamond – Diamond setup is most effective guarding against an umbrella power play.
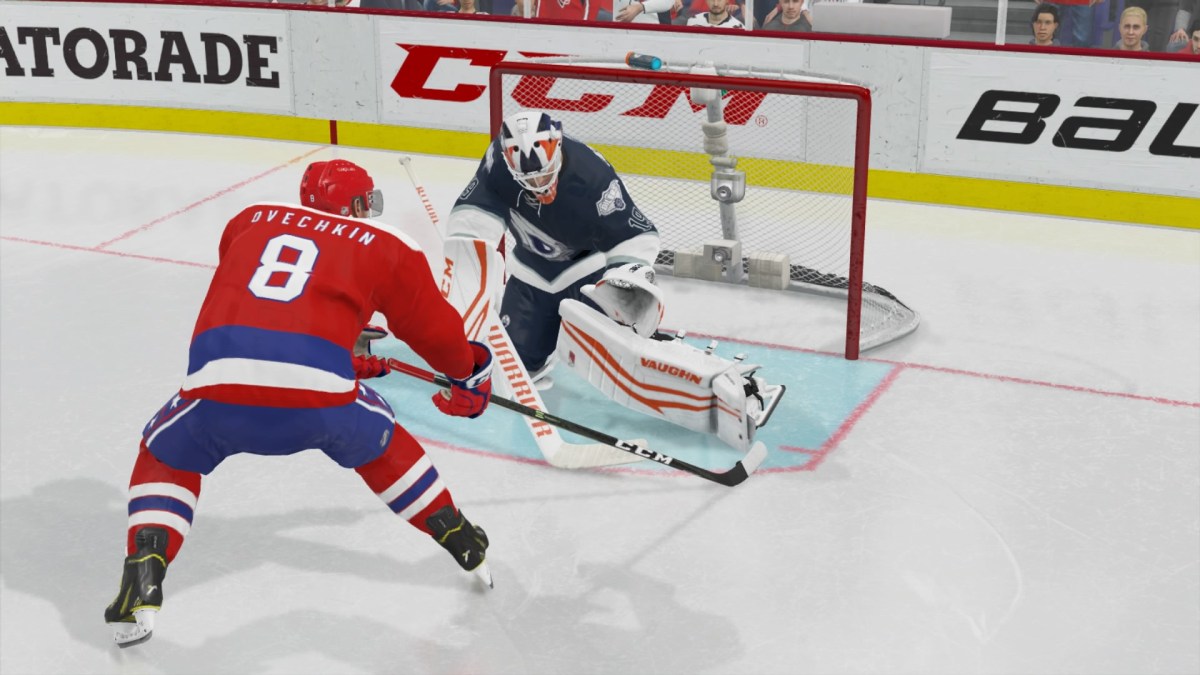
Just as the name says, players will set up in a diamond position or a 1-2-1 in the defensive zone. The diamond penalty kill is good at limiting Ovechkin-like one timers from the wings, but is vulnerable to moving out bodies in front of your net and preventing cross-crease passes as just one defenseman is back there.
- Large Box
The goal of the large box setup is to stop passes across the blue line while also having two defensemen in front of the net. However, the large box is vulnerable to leaving the slot open.
- Passive Box – I always use this setting
The goal of a passive box is the opposite of the large box. In the passive setup, the goal is to limit action in front of the net and slot but it does leave the blue line open.
Power Play
While on the power play, you will want to take advantage of the open ice by moving the puck quickly to open scoring lanes.
- Overload
This strategy allows elite skilled players extra room on the ice. One forward will set up on the half wall, one in front of the net and one below the goal line, with the two defensemen sitting along the blue line. In my opinion, the least effective setup while on the power play.
- Shooting
This strategy is all about moving the puck quickly and firing shots on net. Two forward set up right in front of the crease while the third is higher up in the zone. The two defensemen sit along the blue line and generate the majority of the offense.
- Umbrella – This is the most commonly used setup in the NHL and the setup I believe is most effective.
Players will set up on either side of the net, at the top of each faceoff circle and another at the point. This strategy allows you the ability to move the puck on the outside, setting up the one timer while also looking for openings in the slot.
Power Play Breakout
- Carry Option – I use this setting, because again, I prefer to have my skill guys skate the puck into the offensive zone.
When you skate back to get the puck in your defensive zone, you will pick up the puck and carry it into the offensive zone. The other players will spread out giving you passing options if you need them.
- Five Back
All five skaters will skate back into the defensive zone before moving into the attacking zone together, again giving plenty of passing options.
- Single Swing
When you pick up the puck behind your own net, a defenseman and center will swing around on opposite sides while you carry the puck out from behind the net, with the other two forwards in the neutral zone stretching out the defense.
Quick Breakout
These strategies determine how your players will react when you gain possession of the puck in your defensive end.
- Close Support – For me, close support is important. It eliminates the need to make cross ice passes that tend to always get intercepted.
The weak-side winger will move towards the puck to offer a short, quick passing option.
- Leave Zone Early
The winger furthest away from the puck will immediately skate into the neutral zone to become a long pass option.
- Stay Wide
Opposite of close support, the weak-side winger will stay wide and remain in his lane.
Final Thoughts
Legacy issues definitely hinder the gaming experience from my perspective. Having said that, these settings that are talked about above allow me to get closer to my goal of replicating authentic-ish NHL style gameplay. Additionally, making adjustments to the sliders helps as well. I will release my article detailing the sliders in the game in the coming days.


Published: Nov 30, 2020 12:00 pm