Check out the latest EA Sports UFC 3 breakdown on what the all new Real Player Motion tech actually means for gameplay heading into the beta, scheduled to arrive on November 27. Lead Gameplay Engineer, Geoff Harrower, covers the following major in-game systems, which have all been completely rebuilt in UFC 3:
- Damage System
- Stamina System
- Combinations
- Stopping Power and Frame Advantage
- Range Management
- Defense
Damage System
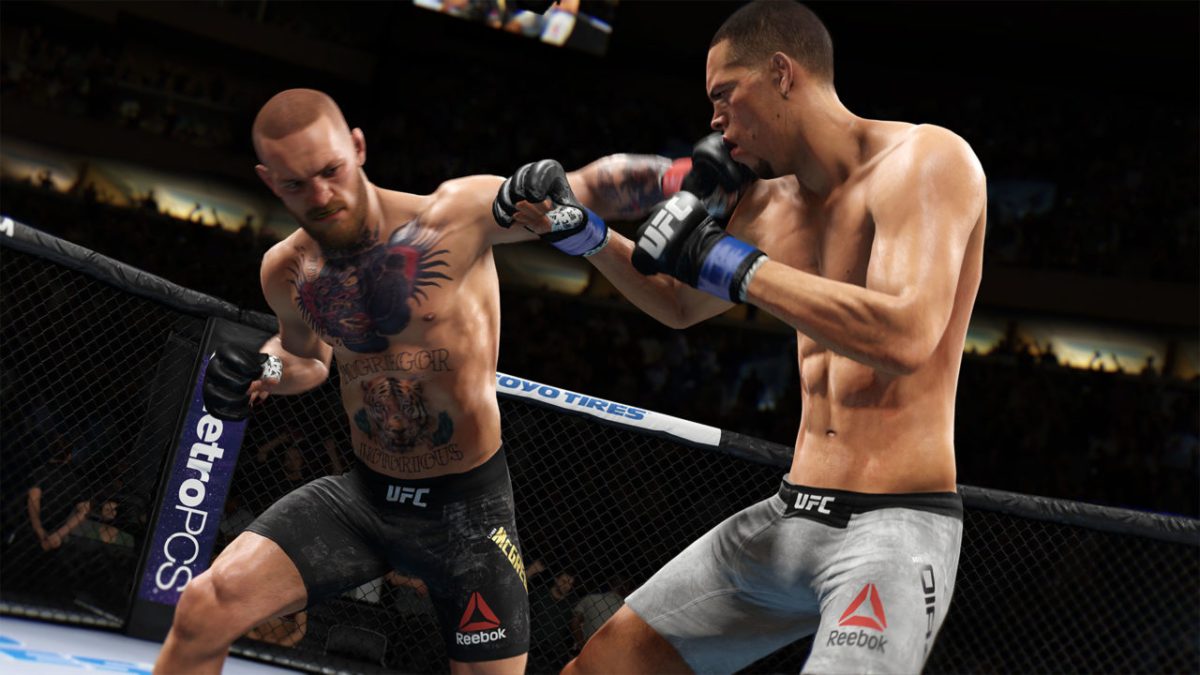
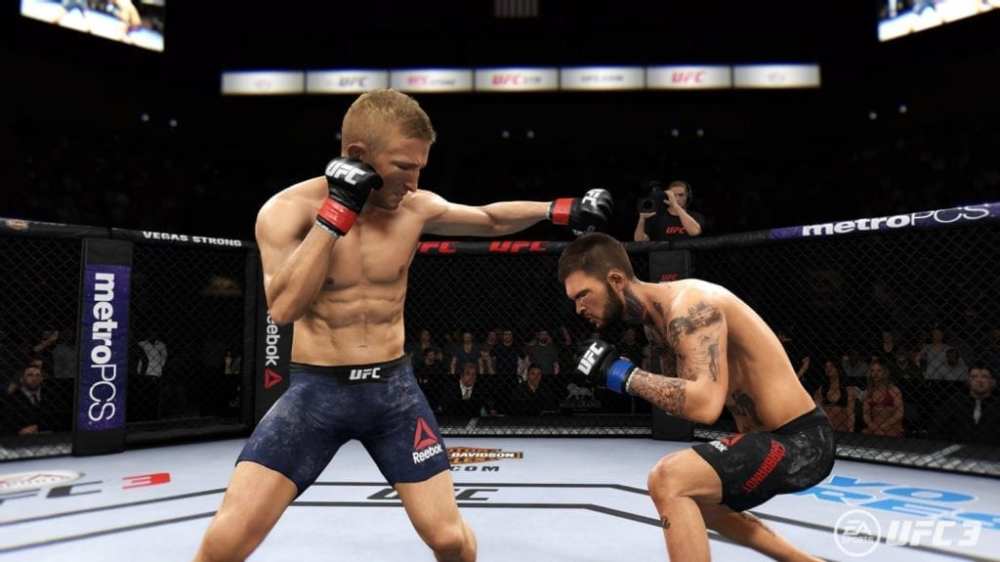
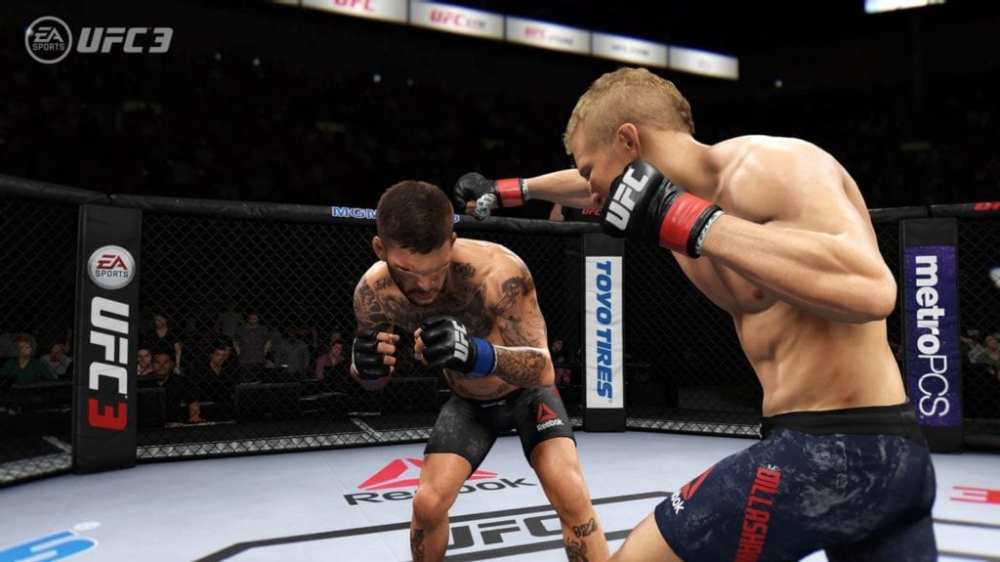
The damage system in EA Sports UFC 3 is completely different from its predecessors. Strikes will now deal considerably more damage, and the actions that you perform carry a very real risk due to the new vulnerability system.
In order to survive and best your opponent, it is important to understand how the damage system works.
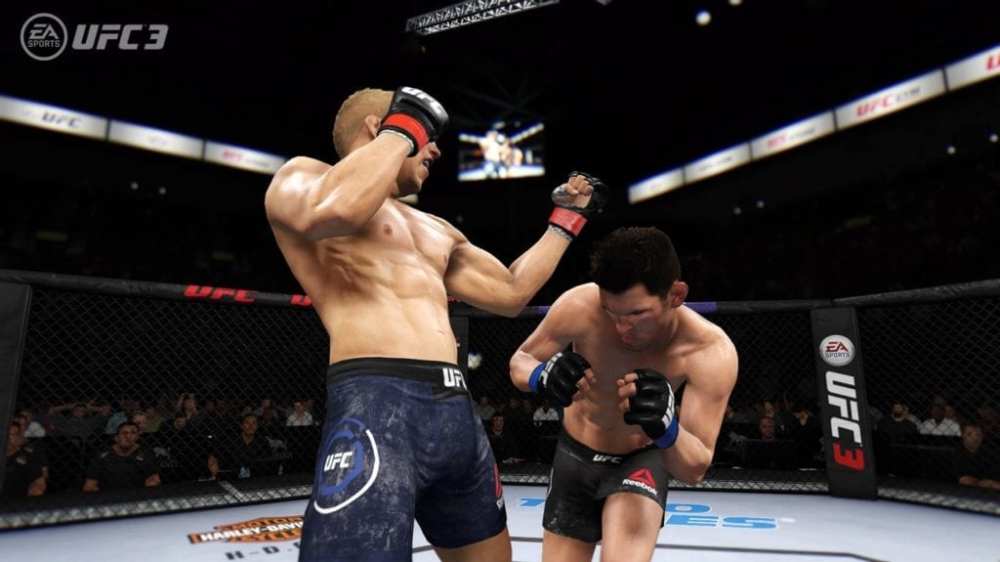
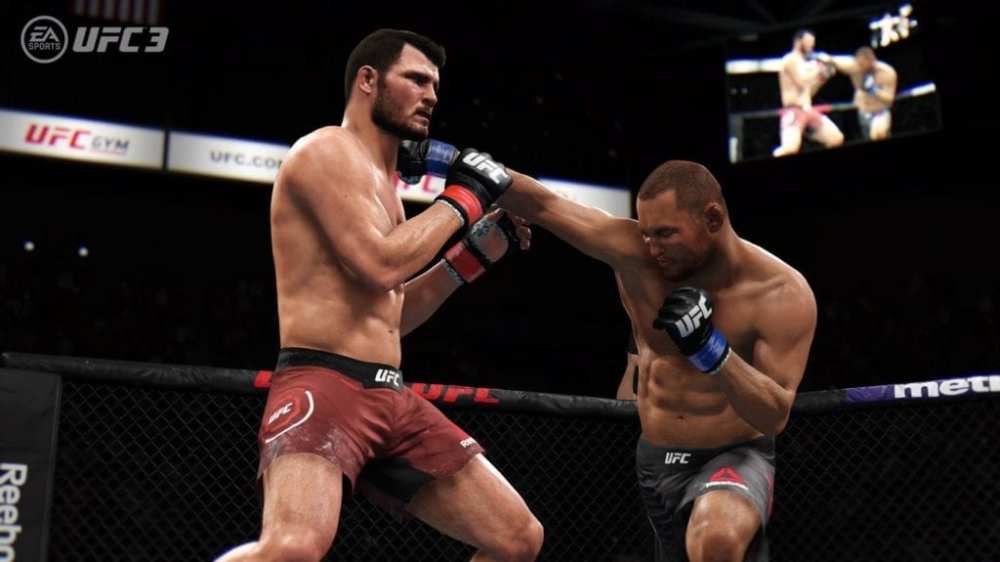
As in past games, there are three damage regions you can target in an attempt to hurt your opponent: the head, body and legs. Each of these damage regions have unique properties which distinguish them from the others, and understanding each is vital in strategizing your attacks.
Let me begin with the core set of rules shared by all three damage regions, providing you with a baseline to build your strategy.
You will see a damage meter show up for each of these regions. If you manage to land enough damage to fully drain one of those meters, you will cause your opponent to be knocked down. How much damage you inflict on that final blow, relative to how much health your opponent has left will determine how severe the knockdown is.
There are four levels of knockdowns:
- Active Knockdown: The least severe knockdown is the Active Knockdown, which is new to UFC 3. This is where your opponent gets stunned enough to lose balance and fall, but is able to quickly (and automatically) recover and get back to their feet.
- Alert Knockdown: The next level of severity is the Alert Knockdown. This is where your opponent falls to the ground, but recovers their defense upon landing and is put in an immediate defensive position. If you attack someone in this state you will enter their guard and start fighting on the ground.

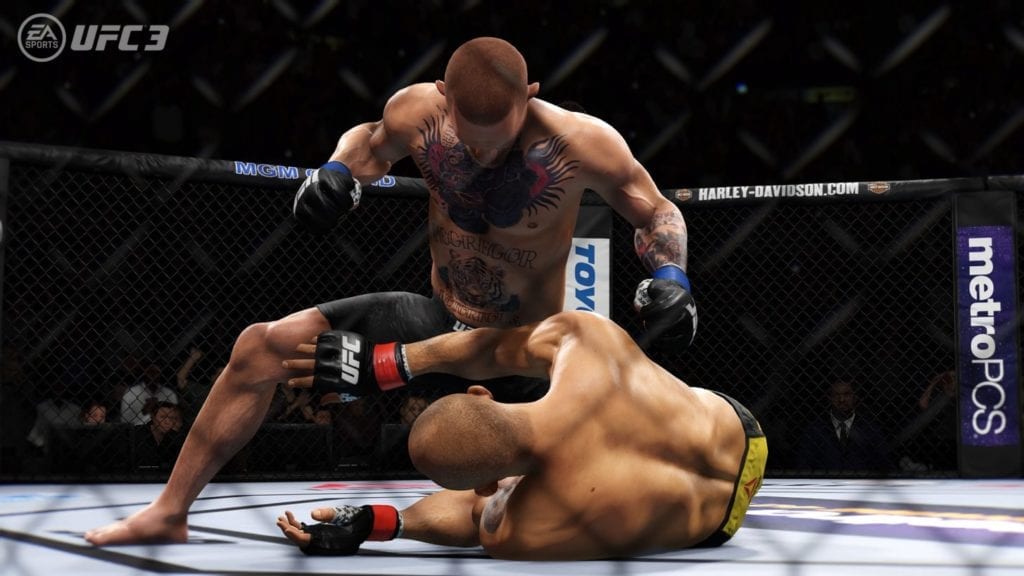
- Knockdown: The next level of severity is the Knockdown. This is a state where your opponent does not recover as they hit the ground, and are left in a vulnerable position until they do. If you attack your opponent in this state, you will have an opportunity to finish the fight in a dominant ground and pound position, either by throwing strikes or by attempting one of the new finish the fight submissions. If your opponent manages to survive a knockdown from this state, you are still left in a dominant ground position from which to work.

- Knockout: The most severe state is the Knockout. If you manage to knock someone out, the fight is over.
Like I said before, the total damage you inflict on the final blow leading to a knockdown, relative to how much health your opponent has left, will determine how severe the knockdown is. So the question is, how much damage do you need to inflict to cause each type of knockdown?
Well the amount is varied based on your Fighter’s Chin, a new concept that has been added to EA Sports UFC 3.
Chin
Behind the scenes there is a new meter that represents your fighter’s chin. Every time you are stunned, rocked or knocked down, your chin meter depletes. As your chin goes down, the amount of damage to reach each of the levels of severity for the knockdown reduces.
Basically, the more times you are rocked or knocked down, the less damage it will take to knock you out the next time your health goes below zero. Depleting your chin and reducing health to zero will cause a knockout, regardless of how much damage that final blow carries.
Stun Meter
Another new concept in EA Sports UFC 3, the stun meter. This meter is hidden from the player, and represents the short term damage, or stun value, inflicted by a strike. It’s the depletion of this meter that changes the severity of the knockdown.
When you land a strike, the stun meter for that region immediately fills to match the damage inflicted by that strike. However, it drains very quickly. Once the stun value reaches a threshold, you will rock your opponent, and their health will no longer regenerate. They will start to throw ineffective strikes, and their movement will be hampered. It’s the perfect time to move in and finish your opponent.
High stun values can be achieved in one of two ways. Either by landing multiple strikes in quick succession, typically by landing strikes in combination, or by increasing the damage of a single strike by landing a strike when your opponent is vulnerable.
Vulnerability
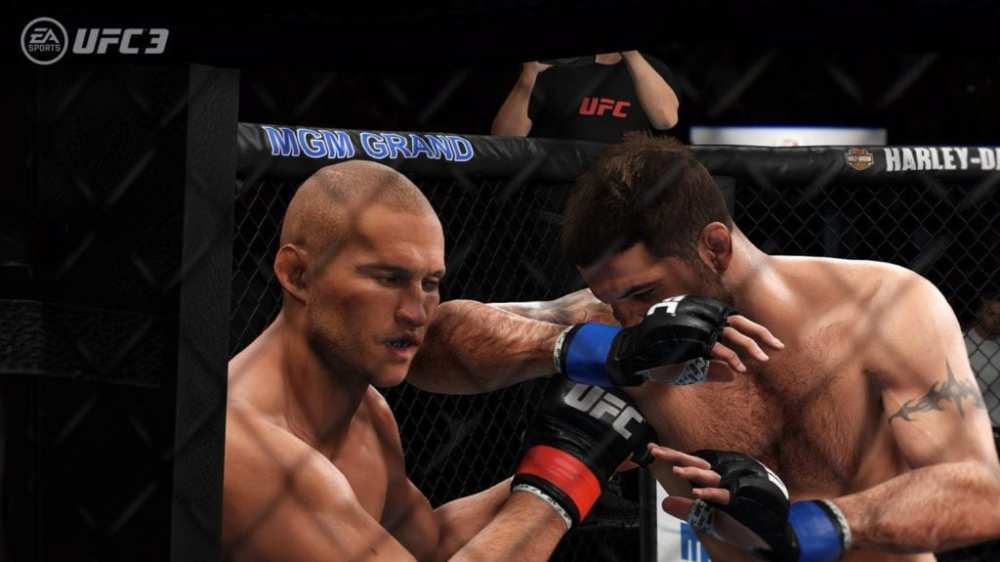
Just like in real life, understanding when your opponent is vulnerable is incredibly important to understand. Every time you perform an action (striking, moving, lunging, head movement, etc.) you expose different parts of your body to increased vulnerability. When a strike is landed on an opponent in a vulnerable region, the damage can be multiplied by up to six times.
Just like with knockdowns, there are multiple states of vulnerability:
- Standing Still: When standing still, you are naturally more vulnerable on the open side of your stance, and are naturally more vulnerable on the side of your liver (right side of your body). Landing a strike to the open side, or the liver, and you’ll do more damage.
- Moving: When you move forward you will naturally make your body, head, and legs vulnerable to attacks.
- Side-To-Side: Moving from side-to-side or throwing a side moving attack will open up the side you are moving towards. Every strike you throw comes with some risk due to the way it opens up your body. The amount of vulnerability tied to a strike depends on the damage that strike causes. The bigger the reward for landing a strike, the higher the vulnerability risk. Example: throwing a punch with your rear right hand leaves you exposed on the left side of your head as your body moves with the action.

- Ducking: Any strike that ducks (example: body punches and overhands) carries extra vulnerability on the bottom of the chin, leaving you particularly susceptible to uppercuts and knees.
- Kicks: Kicks and various jumping/spinning attacks have varying vulnerability that generally follows the movement of the fighter’s head.

- Blocking: You are left vulnerable to the body any time the arm on the side of the body is raised leaving the body exposed.
- Legs: Any time a step is being taken, the legs become vulnerable. This is amplified when the character is moving forward.

Understanding vulnerability and predicting your opponent’s attacks gives you an opportunity to finish the fight in a single, well timed strike. Just like inside the octagon.
Health Recovery
Each damage region has a unique property from other damage regions. Just like many other aspects of the game, the health recovery system has completely changed in UFC 3, giving each region it’s own defining characteristics.
Head
Your opponent’s head is typically the highest of all damage regions. However, the head health recovers faster than all other regions. It’s important to understand that the health recovery of the head is non-linear, meaning it recovers faster the lower the current health is. There are three strategies to employ when finishing your opponent this way:
- Short-Term Strategy: Land unblocked strikes in quick succession, or time a strike based on your opponents vulnerability to drive health down quickly, forcing a knock down.
- Medium-Term Strategy: Maintain a steady assault on the head region to keep the health at a moderate level before timing a big attack to deplete their health meter.
- Long-Term Strategy: Chip away at their long-term health over multiple rounds until their health cannot regenerate to as high a value making it easier to mount a significant attack.
It’s important to note that landing strikes when your opponent has low current health depletes more long-term health. So a slow and steady, well timed assault can really pay off in later rounds. All three strategies are viable, and the successful fighter will typically employ a combination of all three.
Body
Body damage is usually not as high as the head, however, body damage does not regenerate as quickly. Strikes to the body also deplete both short-term and long-term stamina. The lower the short-term stamina of your opponent, the more long-term stamina and health is depleted if you land a body strike.
This means that the perfect time to land a body kick is immediately after you have successfully defended a flurry thrown by your opponent when they are low on stamina.
Legs
Leg damage is the lowest of the three, however, leg health does not regenerate at all making leg attacks the ultimate long-term strategy. If you catch someone in a vulnerable state you will do big damage that will never heal.
There is a risk to this though, as checked leg kicks deal back considerable damage. Checking two leg kicks in quick succession will cause a health event to the kicker. As your leg health decreases, the amount of power you generate with your own attacks will decrease.
So as long as you are not predictable with your leg kicks, they can be a great investment that can pay off in later rounds.
As with everything, a balanced attack between head, body and legs can be very effective. But if your opponent ignores one of the regions defensively, exploiting that can end the fight quickly.
Stamina System
The first thing to understand with the new stamina system is that the amount of damage a strike will deal is reduced greatly as the stamina of the striker is reduced. This means that the most effective way to strike is to throw a combination, wait until your stamina has fully regenerated, and throw another combination. This ensures you land maximum damage with each strike.
When your stamina is low, you are also more vulnerable. This means that not only do you do less damage with low stamina, but you also put yourself at higher risk to vulnerability when striking with low stamina.
Every strike thrown costs you stamina. The lower your stamina then you strike, the more long-term stamina is drained. Strikes that land cost less stamina than strikes that miss. Strikes that are evaded by your opponent cost even more stamina.
STAMINA FLOOR
The stamina floor is the lowest you can reduce your stamina to by throwing a certain type of strike. Each strike has a different stamina floor:
- Straight Punch: A straight punch has the highest stamina floor. If you only throw straight punches, you will only drain your stamina to a minimal level. If your stamina happens to be below that level, throwing straight punches will still allow your stamina to regenerate to that level.
- Hooks and Uppercuts: These two strikes have a lower stamina floor than straights, but still won’t allow your stamina to fully drain.
- Other: All other strikes have no stamina floor, so throwing them in abundance can leave you fatigued and your vulnerability extremely high and your strikes extremely slow.
As your long-term stamina depletes, the stamina floor for all strikes drops until they all eventually hit zero. This makes managing your long-term stamina incredibly important.
STAMINA REGENERATION BETWEEN ROUNDS
You will be given a fixed amount of stamina in reserve at the beginning of the fight based on your endurance rating. When a round ends, you can draw up to fifty percent of that stamina to use for the next round. This means if you use too much stamina in the early rounds, you won’t have enough stamina left in reserve to regenerate anything of significance for the later rounds.
This makes stamina management much more critical in EA Sports UFC 3 as compared to its predecessors, and is a key factor to consider when building your strategy.
Stopping Power
A new concept introduced in EA Sports UFC 3 which is vital in understanding the role of each strike in your arsenal is the concept of Stopping Power. This is the ability of stopping an opponent mid-fight by landing and dealing damage with one strike of your own. The bigger the stopping power value, the later in the trajectory you can land and still shut down your opponent’s attack.
If two strikes land very close to each other in time, stopping power is nullified and a concept called Damage Muffling takes over. In this scenario, the first strike to lands deals full damage. If two strikes land on the exact same frame, they both deal full damage, leaving the window open for double rocks or double knock downs.
On top of these baseline rules for Stopping Power, there are several exceptions specific to different strikes types that are very important to understand:
- Any head kick or overhand punch to the head will always interrupt any strike your opponent is throwing, and will always cause a stagger if landed clean and unblocked.
- A straight punch to the head will always interrupt a forward moving strike.
- A standing or retreating lead hook (a check hook) will always interrupt a forward moving strike.
- A round strike (hook, roundhouse, etc) thrown from your left side, will always stop your opponent if they are moving towards your left side.
- A round strike (hook, roundhouse, etc) thrown from your right side, will always stop your opponent if they are moving towards your right side.
- A front kick to the body will always interrupt your opponent’s strikes or movement, and will always push them backwards. Front kicks are easier to evade with basic side steps, and are easily caught with a successful low block.
- Side kicks to the body will always interrupt your opponent’s strikes or movement, and will always push you back even if blocked. They are however, very easy to evade, and can be avoided with simple movement.

Understanding the role of stopping power in the ways described above, is vital in learning how to control your opponent’s movements around the octagon. Using these simple rules, you can safely shut down overly aggressive opponents, create space using pushing strikes, and force a fleeing opponent’s back to the cage, pin them in and attack them while they are in a position that nullifies several of their defensive options.
Frame Advantage
Now that you have a good understanding of the importance of stopping power, and the role vulnerability plays in the damage system, it should be clear that landing a strike before your opponent can land theirs is key to a successful attack.
That’s why EA Sports UFC 3 introduces an all new framework that controls the amount of time that it takes for each of the following to occur when a strike is thrown:
- Execution Frames or the number of frames from the time you press the button until it lands
- Recovery Frames if you miss the strike before you can do one of the following:
- Block
- Use head movement
- Lunge, move or throw a follow up strike
- Recovery Frames if you land a strike before you can do one of the following:
- Block
- Use head movement
- Lunge, move or throw a follow up strike
- Stun Frames when a strikes lands into your block before you can do one of the following:
- Block
- Use head movement
- Lunge, move or throw a follow up strike
- Stun Frames when a strikes lands unblocked before you can do one of the following:
- Block
- Use head movement
- Lunge, move or throw a follow up strike
Each of these frame values have been tuned to properly represent the risk and reward associated with throwing each technique. The results should feel intuitive, but to give a concrete example I will illustrate what this system does for two very different strikes. A jab, and a roundhouse to the head.
A jab is a very safe strike to throw. Probably the safest strike in MMA. As such, the frame values have been tuned to make it a safe strike to throw. It is safe in the sense that the speed of the jab means it will never be intercepted and stopped by another strike thrown after it.
Second, whether you land or miss the jab, you will always have time to block, slip or otherwise defend yourself before a counter strike from your opponent is able to land. Both of these properties make the jab the safest one in the game. But as you would expect, it also deals the least amount of damage.
Contrast that with the roundhouse kick to the head. This strike is unsafe, but deals a considerable amount of damage, and has the highest stopping power in the game. The roundhouse is a very slow strike compared to the jab. That means that there are several strikes that could land before the roundhouse does, even if they begin after the roundhouse starts.
Due to the stopping power of those strikes, if they land early enough, they can stop the roundhouse from completing. All these properties make the roundhouse a risky technique to throw.
If you miss the roundhouse or the roundhouse is blocked, the recovery frames before you can block or slip is higher than the execution frames of some punches. This means that failing to land a roundhouse kick can put you in a state where you are both vulnerable, and have no way of defending yourself.
This makes the roundhouse an unsafe strike to throw.
Each strike has different frame tuning values, balanced against the damage it deals and the vulnerability it exposes you to.
Any time you get in a situation where you can perform an action before your opponent can, this is called being at a Frame Advantage. Understanding what can put you at a Frame Advantage, and what can give your opponent a Frame Advantage will make you a better fighter.
Combinations
The frame tuning system sets a solid baseline for strike timings, but combinations are a way to side step those rules and throw strikes faster than the frame tuning system would normally allow.
The combination system in EA Sports UFC 3 has been completely rebuilt from the ground up. Gone are the generalized combo rules and combo multiplier from past titles. In their place, we have built a much more authentic combination system that encourages more realistic combos be thrown, at a more realistic pace.
Each fighter has different sets of combinations based on the strikes they can throw, and their skill and proficiency in various disciplines of martial arts. Some fighters also have unique combinations assigned only to them, making fighters in EA Sports UFC 3 much more unique and interesting to play with.
The first step is choosing your fighter and learning their combos. Go into practice mode with your fighter, learn their combos through the in-game menus, and practice them. Commit them to muscle memory. Combinations are much harder to throw in EA Sports UFC 3 due to the increased number of techniques made available in the control scheme, and practicing them in a safe environment is vital to success in real fights.
The most efficient use of stamina, and best way to maximize the potential damage dealt to your opponent, is to throw your combinations from full stamina and then allow your stamina to regenerate to its maximum again before starting another combination. Anything more aggressive than this will reduce the potential damage dealt for each strike in the combination.
Some combinations can only be thrown when a particular strike in that combination misses (missed roundhouse to spinning back fist for example). Other combinations can only be thrown when particular strikes land (round house to rear straight combo for example).
Get familiar with the different combos, practice them, experiment with them in fights. There is a lot to explore and adding new combinations to your arsenal can be a very rewarding experience.
Range Management
In EA Sports UFC 3, there is a new emphasis on movement thanks to the Real Player Motion Tech. Every action you perform can be done while standing still or moving. This opens up a whole new dimension of strategy, and understanding range management is critical to being successful with these new strategies.
There are five ranges to be aware of in the game:
- Elbow Range
- Punch Range
- Kicking Range
- Step Kicking Range
- Out of Range
As the name would suggest, elbow range is the distance at which you can successfully land a standing elbow on your opponent. The same is true for a punch or a kick. Step Kick Range is the distance at which you can throw a kick with a forward stepping motion.
Out of Range is a distance at which you cannot land any strike, and your opponent is safe.
Each strike in the game has a range from which it can land. Typically, the forward moving version of the strike extends the range of the strike by one, and the backwards moving version of the strike reduces it’s range by one. Forward moving strikes generally have more execution frames, and thus take longer to land than their standing counterparts.
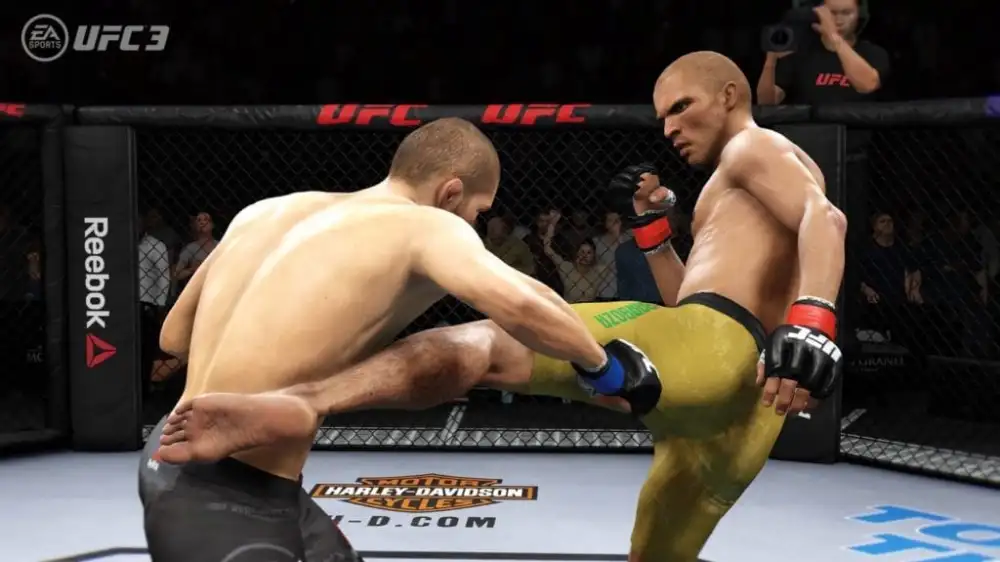
In addition, each strike has an ideal distance where if landed from this distance it will deal maximum damage. Elbows, hooks and uppercuts are best thrown at closer range and deal more damage at close range. Straight punches, straight kicks and round kicks generally deal the most damage close to the end of their range. Landing them too close to your opponent will deal considerable less damage.

Landing straight punches and kicks will maintain or create distance due to the pushing nature of the strike. Hooks, uppercuts and round kicks do not share this property, and throwing them will allow your opponent to close distance on you.
A front kick to the body, or a spinning side kick to the body could get converted into a head strike at the proper range if the opponent ducks down into it either by slipping or shooting for a take down. This can lead to devastating damage dealt due to the vulnerability that fighter is exposed to.
One final way in which range comes into play is when comparing fighters with long reach vs. short reach. Obviously, the longer reach fighter has a bigger range for their strikes as compared to that of the shorter reach fighter. In order to balance this out, we have made the range requirements to hit maximum damage much stricter for the long reach fighter than the short reach fighter. This variance is even more pronounced on short range strikes, where the shorter fighter will naturally shine. This means that even though they can both achieve maximum damage, it is much more difficult to do with the longer reach fighter.

In addition, we have added an execution frame penalty to the longer fighter, to simulate the fact that their longer limbs take more time to reach their target.
The hope is that this balances out tall fighters and short fighters, making them both competitive if used the right way. As always, the best way to understand this is to go into practice mode and experiment with various techniques.
Defense
The defensive options and strategies have completely changed in EA Sports UFC 3, and understanding your defensive options is another big key to success. The biggest shock to returning players will likely be that parries are gone.
I’ll let that sink in for a moment.

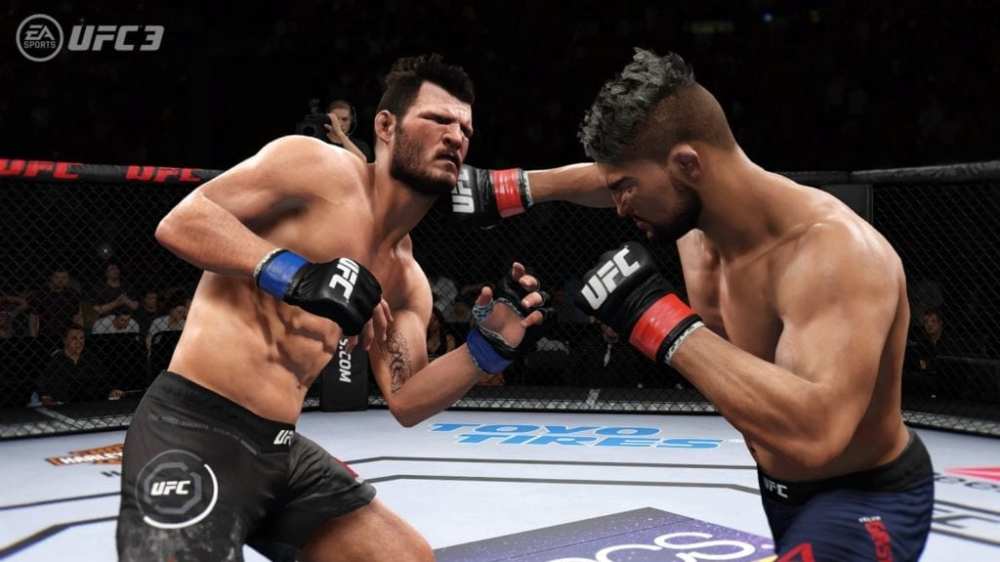
Ok, now that you’re over it, let’s focus on the defensive options. Your first line of defense is blocking. Like in the previous game, there is a high block and a low block. High block protects your head, low block protects your body and legs. The controls for blocking have changed though, and this is important to know before going into your first fight. High block is now the right trigger, and low block is the right and left triggers pressed at the same time.
Depending on what strike is landed, the high block may protect you from all the damage, or it may allow a baseline percentage of that strike’s damage to bleed through. For example, head kicks have considerable bleed through, whereas jabs have none.
In addition to bleed through, the high block can be broken down quite aggressively. The block can be broken down by throwing your strikes in different left/right patterns. Alternating between round and straight strikes will eventually break down the block, as the defensive fighter is unable to continue to track the strike fast enough until one eventually sneaks through and the block is broken.
Experiment with different patterns and see what works best for you, but understand that blocking will only get you so far. Eventually your block will be broken, and you’ll eventually want to evade a strike before it gets to that point.
Slipping
Like everything else, slipping has undergone a complete overhaul. The controls have changed, and you now slip using the right stick. You can flick the right stick to perform a quick slip and return to neutral, or to queue up a slip in combination, or you can hold the right stick to maintain a sustained slip, and quickly change directions by rotating the stick.
By moving the slipping controls to the right stick, we’ve opened up the ability to slip while moving. Forward slipping is a great way to close the distance on your opponent, while retreating and slipping can get you out of hot water.
The new slip mechanic is now tied quite tightly to the new frame tuning system. Any time you slip, you create a window of frames where you evade all strikes to the head from a given strike arc. The size of that window is determined by your head movement stats.
You can slip in all four directions. However, slipping does expose you to vulnerability.
A forward slip causes your fighter to duck. While you are in forward slip evasion frames, you will evade left and right round attacks and any straight attack. You also mitigate damage from any body attack due to the compression of your body and the protection offered by your arms. A slip to the left or right will lean your fighter in that direction. Side slips will evade all straight arced strikes and upwards arcing strikes aimed at the head.
The final slip direction is the back slip. This slip evades all strikes to the head, but only if the strike would land at the edge of its strike range. This means that if a jab was thrown from punch range, a back slip would evade the jab because the head is moved from punching range to kicking range for the duration of the evasion frames. However, if a jab is thrown from elbow range, a back slip won’t work.

Similarly, if a forward moving jab were thrown from punching range, a back slip would fail to evade because of the extra range the forward moving jab covers.
It’s also worth noting that some striking techniques contain evasive frames. Once you effectively evade a strike, you have a window where you are guaranteed your opponent will not be able to land a strike. This is your opportunity to counter. While countering, your opponent’s vulnerability is increased, so you will deal more damage if you hit them in a vulnerable region.
Lunges
The final defensive mechanic I’d like to cover are lunges. Lunges work similar to slips in that they can evade strikes or mitigate damage, but they cost stamina and have a different set of evasive properties.
There are three types of lunges: basic, advanced and signature.

Basic lunges: Performed by flicking the left stick. Basic forward lunges move you forward one strike range very quickly, and have no evasive properties. Basic back lunges move you back one strike range very quickly, and have similar evasive properties to the back slip. Basic left and right lunges have the same evasive properties as left and right slips, but are also able to avoid straight trajectory body strikes. They do not evade leg kicks.
Advanced lunges: Performed by holding L1 and flicking the right stick. An advanced forward lunge moves you forward two striking ranges and has no evasive properties. An advanced back lunge moves you two striking ranges backwards, at the cost of increased stamina drain. Advanced left and right lunges evade everything the basic left and right lunges do, but they will also evade any round arced attack coming from the opposite side that you’re lunging to. This is at the cost of increased vulnerability and stamina drain. This is the ideal lunge to use to circle out off the cage when you have your back against it.
Signature lunges: Performed by holding L1 and flicking the left stick. Not all fighters have signature lunges. For those fighters that do have them, each fighter’s signature lunge will behave differently from those of other fighters. There are typically signature strike combinations that chain out of these lunges as well.
Dominick Cruz has the most diverse set of signature lunges, but I will leave it as an exercise for the reader to discover who has signature lunges and how to use them.
Final Thoughts
So that covers everything I wanted to share with you in this blog. If you’ve made it this far I applaud you.
There are still a lot of details I haven’t covered, but I hope this has given you a good foundation of knowledge to draw upon as you enter the beta.
It was a lot of work to put this together, and all I ask in return is that you give us feedback on the beta. Positive, negative it doesn’t matter.
I’m really excited to see how people take to the new game. We’ve been running play tests three times a week here amongst the dev team and I can say I’ve never enjoyed a game I’ve worked on as much as this one. I really hope you feel the same way.