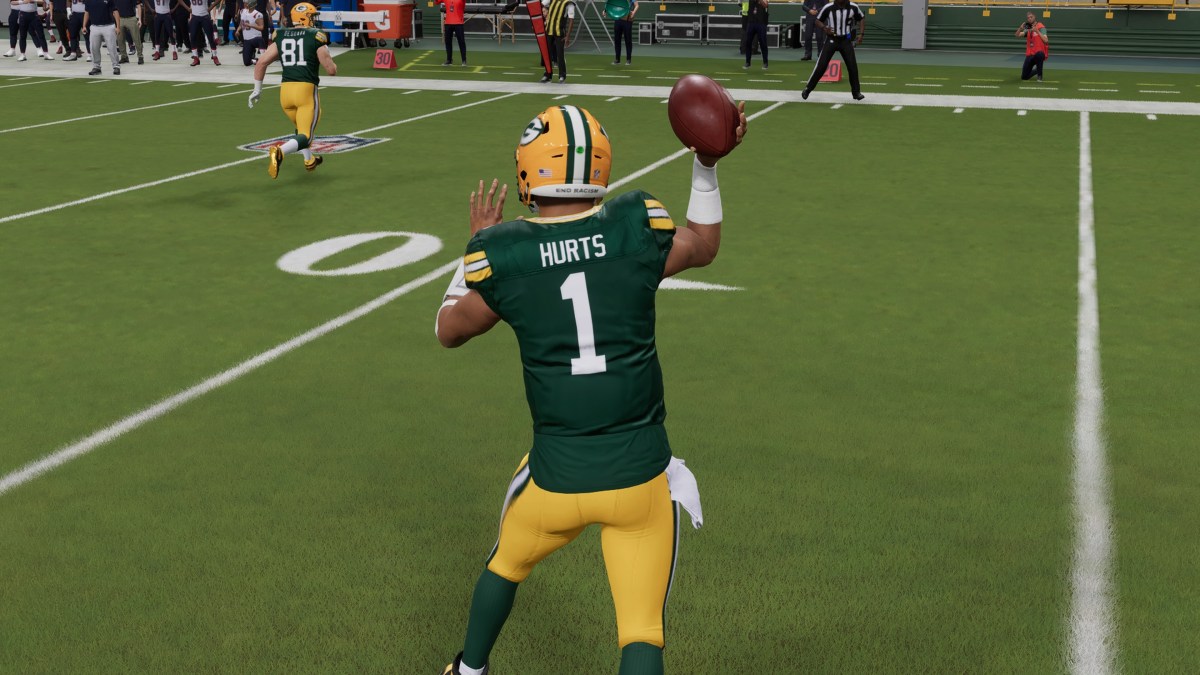
Football (and thus Madden 24) is a game of adjustments. When both teams break the huddle before each play and assemble at the line of scrimmage, there’s no shortage of insight that can be gleaned from the alignment of the opposition’s personnel.
It’s not uncommon to see the quarterback on offense or the middle linebacker on defense start to bark out coded instructions to his teammates based on what he’s seeing. In Madden 24, you’ll need to be able to make an assortment of pre-play adjustments in the short amount of time before the ball is snapped if you want to be able to compete with the best players. Knowing how to react to what the other team is showing and which of the tools at your disposal to use at any given time can be confusing and more than a little overwhelming.
With that in mind, here’s a quick breakdown of what you’re able to do at the line on both sides of the ball and when these can come in handy.
Offense
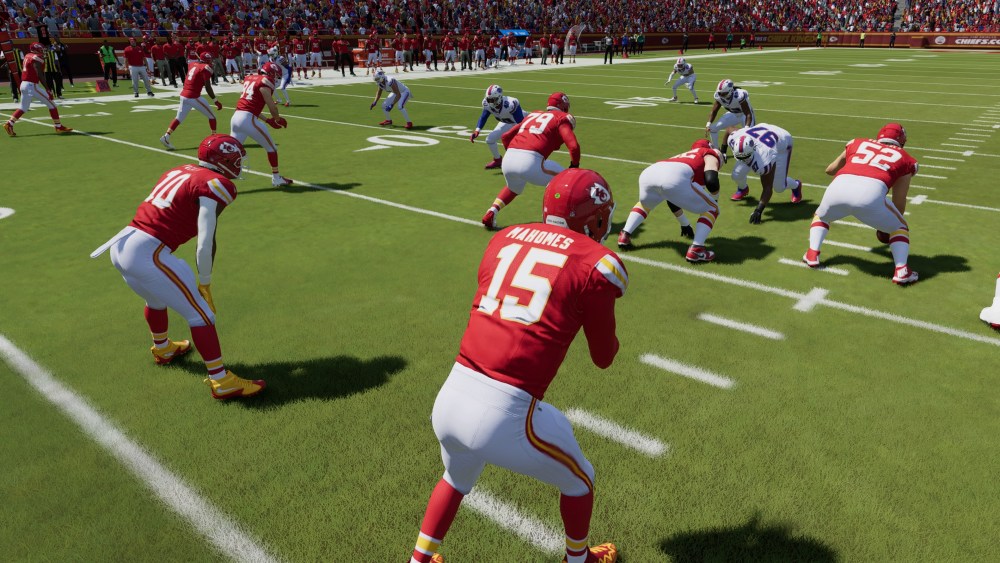
Audible (Square/X): When you don’t like the chances of the play you called in the huddle to succeed against the defense you’re seeing, calling an audible to relay an entirely different call to your teammates can be your best option. The best example of this is when a defense is stacking the box and clearly committing to stopping the run with a blitz, you may want to audible out of that HB Dive up the middle to a pass that gets the ball out of your hands quick instead.
Hot Routes (Triangle/Y): By bringing up your hot routes at the line, you’ll be able to select a specific receiver and then alter what kind of pattern they will run. There are a bunch of options to choose from so you’ll want to have in mind a specific way you’d like to attack the defense. When you’re sensing that they will be bringing pressure, it can be a good move to cancel any routes that will a take a while to develop and instead hot route to a quick slant or a go route if you want to lob one deep. You can even hot route someone in the backfield or a tight end on the line to block rather than run a route if you feel like you might need help in protection.
Motion (circle/B): You’ll start to cycle through players on your offense by pressing this button, which will let you select a player that you want to send in motion to the other side of your offensive line (or out of the backfield) using the D-pad in the direction you want them to move. Why would you want to send a man in motion before a play? Because it can be good indicator of whether a defense will be playing man or zone coverage. When you send that man in motion, it’s likely if a defender travels with him that you’ll be seeing man coverage. If no one moves, expect zone.
Pass Protection (L1/LB): You have access to a few options that can help relay blocking schemes to your offensive line on passing plays. An ID of the mike will essentially tell your line which player you expect to be at the center of the defense’s pass rush so your blockers can arrange themselves accordingly. You can slide your line left or right depending on which side you’re sensing any pressure might be coming at you. By choosing to max protect, you can have tight ends or running backs stay in to block instead of performing the assigned routes on the play. Double teaming especially fearsome defenders (like a Micah Parsons or Myles Garrett, for instance) can be a smart method to neutralize their impact as much as possible.
Defense
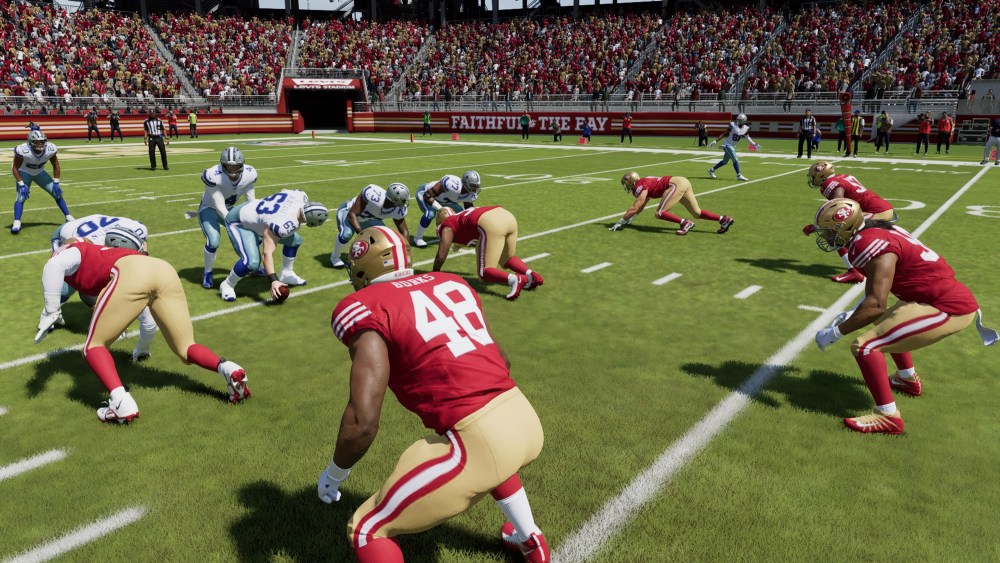
Audible (Square/X): Just as with offensive audibles, you can expect plays where you don’t like the look of how your defense matches up with the offensive formation and feel the need to switch things up. Are you in man coverage and notice a poor linebacker assigned to cover a speedy receiver? Consider audibling to zone coverage or else risk a big play with a mismatch your opponent can exploit.
Coverage Adjustments (Triangle/Y): There are a variety of adjustments you can make from this menu, including everything from how your secondary initially lines up to how they’ll behave once the ball is snapped. You can press receivers at the line to avoid giving them a free release or show blitz to make your opponent believe you’re bringing the house when maybe you’re not in reality. You’re able to direct your defenders to cover over top to avoid the long ball or underneath when you’re expecting the ball to be thrown quickly. You’ll even want to use the quick adjust to give new assignments to specific players in your secondary, like if you’d rather have a safety double team a dangerous receiver rather than cover the deep middle.
Individual Assignment (X/A): This will let you change the assignment for whichever player you happen to be controlling at the moment. You’ll be given a slew of options depending on the position of your player and where they’re situated on the field. Whether you want the player to blitz, man up in coverage, or drop into a nearby zone, you’ll find your desired responsibility here.
Switch Players (Circle/B): It took me way too long to realize in Madden that you don’t need to cycle through all of the players on defense to select the one that you’re trying to control. To spare you the same embarrassment, you can target a specific player by holding down the circle/B button and then moving the left stick in the direction of the player you want.
Defensive Line (Left D-Pad): You possess the ability here to manipulate not only how your defensive line arranges themselves along the line of scrimmage but also the direction in which they’ll flow when the play starts. You may decide with the left stick to slide your defensive line one way or another before the snap to better arrange your players or have them guard the outside. With the right stick, you can tell your line to attack in a direction at the snap or choose to clog up the middle if you’re sensing a run up the gut.
Linebackers (Right D-Pad): The left stick will shift the alignment of your linebackers just as with the defensive line, causing them to either pinch together, spread out, or cheat in a direction you sense the play is headed. The right stick this time around provides you with a quick way to blitz some or all of the linebackers or have them sit in zone coverage.
Defensive Keys (R1/RB): With the left stick here you will be able to shift your entire defense, either to have them all slide left or right, pinch the middle, or spread out. Meanwhile, the right stick is to gain a boost in awareness by correctly guessing what type of play the offense is about to run. It’s here that you’ll also find the strategy of containing the QB, which can aid in keeping mobile quarterbacks in the pocket and limit any yards scrambling.